BLOG: NEWS, RECIPES AND ARTICLES
The Art of a Sheet Pan Dinner
A busy cooks dream, a sheet pan dinner is similar to a one-pot meal. It does not require fancy equipment yet makes kitchen clean-up a breeze at the end of the meal. Your ingredients can be as simple or fancy as desired, just follow a basic formula that includes protein, veggies, fat and flavoring. Roast until everything is golden and marvel at your accomplishment when dinner is served.
A busy cooks dream, a sheet pan dinner is similar to a one-pot meal. It does not require fancy equipment yet makes kitchen clean-up a breeze at the end of the meal. Your ingredients can be as simple or fancy as desired, just follow a basic formula that includes protein, veggies, fat and flavoring. Roast until everything is golden and marvel at your accomplishment when dinner is served.
Adapted from NYT Cooking guide by Melissa Clark
Choosing Your Sheet Pan
A sheet pan is a wide, shallow baking pan made from aluminum or stainless steel. It has a low rim that prevents the pan contents from sliding off the edge of the pan, but still encourages airflow and browning. This humble tool is a kitchen workhorse; it is the go-to pan for roasting vegetables, meats and often entire meals. I encourage every kitchen to have a sheet pan (or several) in a variety of sizes.

Most sheet pans are 18x13 inches with a 1-inch rim. This size will fit in most standard home ovens. These pans are also called half-sheet pans because they are half the size a pan typically found in a commercial kitchen. Quarter sheet pans, measuring 9x13 inches, are great for smaller ovens. If you are cooking multiple items at one time it is helpful to have multiple 9x13 pans to prevent flavors from mixing or to accommodate different cooking times for varied ingredients.
When purchasing a sheet pan, look for a pan with a heavy-duty gauge — this refers to the thickness of the metal used. The higher the gauge, the thinner the pan: Anything from 13 to 18 gauges will work well.
Sheet pans are typically easy to clean, however lining your pan with a silpat baking mat or parchment paper makes clean up even easier. Silpat baking mats are sturdy, reusable mats made from food grade silicone. Silpat mats can be used in an oven up to 480 degrees. Parchment paper is single-use, disposable product. Thanks to a silicone coating, it's resistant to grease and moisture. It is flexible enough to fold but sturdy enough to not tear. Parchment paper is heat resistant up to oven temperatures as high as 450 degrees. Note: Using a pan liner may hamper the browning of your food. Parchment paper in particular may make roasted items less likely to get browned and crispy.
The sheet pan formula

Choose Your Protein
For a well-balanced meal, I recommend starting with your protein. Build your flavors and accompanying veggies around this protein. Whether you decide on poultry, beef, pork, fish or tofu, you’ll want to start with 1⁄4 to 3⁄4 pound per serving, to be supplemented with vegetables.
Prior to roasting, gently season the meat with salt, pepper, (and herbs if using) and a light coat of oil. I recommend avocado oil for high-heat cooking.
Poultry Notes:
Dark meat takes longer to cook that white meat.
Bone-in meat takes longer to cook than boneless cuts.
All poultry should be cooked to at least 165 degrees or until juices run clear when the meat is cut. When able, use pasture-raised or organic poultry.

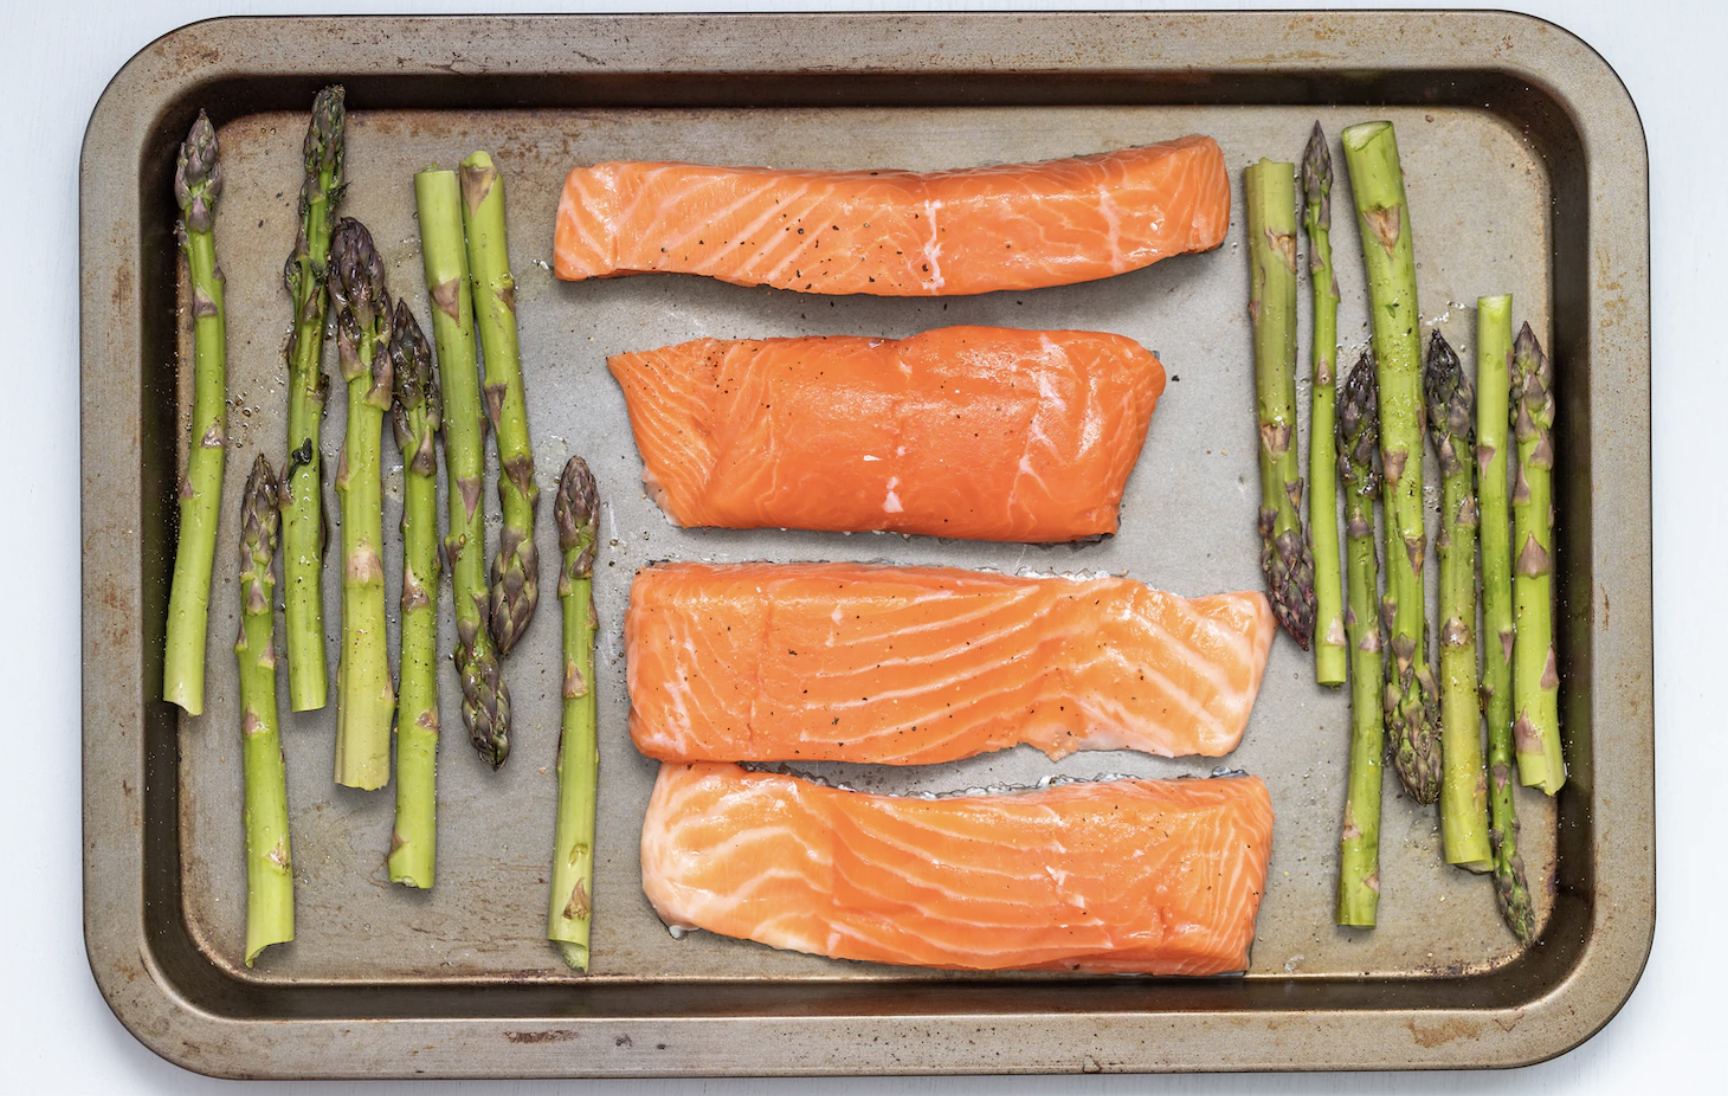
Seafood Notes:
As a general rule, fish takes 8-10 minutes to cook per inch thickness.
Salmon can be cooked to 120 degrees for medium-rare to 125 degrees for medium.
Shrimp should be added as the sheet pan veggies are in the last few minutes of cooking.
When able, use wild-caught, sustainable seafood.


Red Meat Notes:
Use an oven safe wire rack that fits your sheet pan when cooking larger cuts of meat. This will prevent the meat from becoming soggy or sticking to the pan.
Smaller cuts of meat can be placed on the pan directly.
After the meat has reached its ideal cooking temperature, place the meat under the broiler for 1-2 minutes to create browning if desired.
Beef is rarely used in sheet pan dinners. Ground beef or meatballs are an exception.
When able, use grass-fed, unprocessed meats.

Tofu Notes:
Dry out your vegetable protein prior to baking to allow it to crisp and brown.
Marinade your plant based protein prior to roasting to add flavor.
Do not cook tofu on the same pan as watery vegetables. The moisture for the vegetables will prevent the tofu from browning.
Dredging tofu in cornstarch prior to roasting will allow the tofu to crisp and brown. The tofu is more likely to stick to your pan if it has been dredged.


Choose your Vegetables
Once you have chosen your protein, it is time to pick the vegetables. I recommend LOTS of vegetables. They should be the star and bulk of your meal. Vegetables cook down significantly under high temperatures, so always err on the side of more. When choosing and roasting veggies I recommend the follow tips:
Tip 1: Choose a pan size. I recommend using the largest sheet pan your oven will accommodate.
Tip 2: Cut veggies uniformly. Make sure that all the veggies are all cut to approximately the same size. This will ensure that they roast evenly and be finished at the same time. If you are roasting different kinds of vegetables on the same pan, make sure they have similar cooking times and oven temperatures. Many veggies roast well at 400-450 degrees.
Tip 3: Use about two tablespoons of oil per sheet. Lightly coat the veggies with oil to help keep the interior of the veggies moist. Too much oil can cause soggy veggies. A good rule of thumb is about 2 tablespoons of oil per baking sheet.
Tip 4: Arrange the veggies in a single layer. Crowded veggies will steam rather than get crisp and caramelized. Spread the veggies evenly across the baking sheet.
Tip 5: Season with salt and pepper prior to roasting. Adding salt before roasting is a key step and can really make a difference in the final flavor. It is hard to give an exact measurement since salting is a matter of personal preference and can vary from vegetable to vegetable. A general rule of thumb is to use around 1/2 to 3/4 teaspoon of salt per baking sheet and a few grinds of black pepper. Taste the vegetables when they have finished cooking and add more seasoning if needed.
Tip 6: Center your pans. If using only one sheet pan, the center of your oven is usually the best place to put it. When using multiple pans, always try to place them side by side if the oven allows. If you have to roast veggies on two different racks, make sure you put the top rack in the upper third of the oven and the lower rack in the bottom third of the oven. This will allow the heat and air to circulate better to help get the vegetables tender and caramelized. If the baking sheets are only an inch or two apart, the bottom vegetables will steam.
Tip 7: Rotate halfway through. Another tip when using multiple pans is to rotate the pans halfway through to ensure that all veggies are getting equal exposure to the heat and have an equal chance of getting crispy and caramelized.
Tip 8: Consider convection. If you are using multiple pans, another option is to bake on convection, a setting where the heat is circulated by a fan. This setting can produce more even heat. This can be very helpful when you are roasting multiple vegetables at once. Beware, this setting is also more drying and cooks more quickly. A good rule of thumb is to reduce the oven temperature by 25°F when using a convection setting.
Tip 9: Add flavor. Fresh herbs, such as rosemary or thyme can be a wonderful addition to the pan for a little extra flavor. Don’t forget to taste the vegetables before serving. You can always finish them with a sprinkle of flaky sea salt and more freshly ground black pepper.
Notes:
Dense vegetables like potatoes and winter squashes take the longest to cook depending on the oven temperature and the vegetable size.
Vegetables with a higher moisture content can take less time to cook. However, if you want to caramelize the vegetables it can take longer because the moisture needs to evaporate before browning can occur.
Leafy vegetables like kale, broccoli rabe, or Swiss chard will cook fastest. If the leaves are thoroughly dry, they will turn crisp and brown. Kale and chard can turn to brittle chips if you use enough oil.
Below are lists of popular vegetables and their suggested cooking times. Pair your veggies to the cook time of our protein. Alternatively, build your meal by placing the ingredient that requires the longest cook time in the oven first. Add ingredients to the cooking pan at intervals to allow all ingredients to be fully cooked about the same time.


Photo credit: www.healwithfood.org

Build Flavor
Once you have chosen your main ingredients, it is time to get creative with the seasonings. Many ingredients are delicious on their own. You can opt to season simply with salt and pepper. Or, you can build complex flavors by adding herbs and spices.
Herbs and Spices Notes:
Sprigs of sturdy, branchy fresh herbs can stand up to lengthy cooking without burning. Thyme, oregano, marjoram, rosemary, bay leaves, tarragon and sage are all good choices. Add them directly to the pan with the meat or veggies. Dried herb mixes are convenient to stock in the kitchen if mixing your own blend is intimidating.
Avoid soft herbs like basil, chives, parsley, cilantro and mint, which can turn brown at high heat. They are better added as garnishes.
Whole spices can also be tossed directly onto the pan with the other ingredients, adding fragrance and depth. Some favorites include chile flakes, coriander seeds, fennel seeds, cumin seeds and cinnamon sticks.
Bold Additions Notes:
Add whole smashed garlic cloves (peeled or unpeeled) directly to the sheet pan if desired. Peeled garlic is more intense in flavor than unpeeled garlic. Avoid minced garlic because it can burn easily.
Sliced oranges and lemons or whole or sliced fresh chiles can be added with the other ingredients while roasting to add depth of flavor to your dish. Make sure they are well coated with oil to encourage caramelization.
Finishing Touches Notes:
If you are using soft fresh herbs like mint, basil, green onions, or cilantro, add them after baking.
For a final element to brighten the meal. consider adding a squeeze of citrus or a drizzle of vinegar. Yogurt, vinaigrettes, grated or crumbled cheeses, salsas, sauces, chutneys, quick-pickled onions, chile pastes and hot sauces all add vibrancy to a finished dish.
Assembling Your Meal
Once you have collected all your ingredients, there are a few more things to bear in mind.
Tip 1: Your ingredients and their cook times matter. Start with the slowest-cooking ingredient, then add items in a progression, ending with whatever cooks fastest.
Tip 2: Size of your ingredients also matter. The smaller an ingredient is chopped, the faster it will cook. This applies only to like ingredients: Small chunks of carrots may still take longer to cook through than larger pieces of tomatoes, mushrooms, broccoli or other less dense vegetables. Half an inch is a good starting point. This size will cook quickly while providing a satisfying bite.
Tip 3: Pay attention to placement of your sheet pan and your ingredients. The closer the sheet pan is to the heat source, the crisper and browner everything will get. Similarly, ingredients at the pan’s edges cook faster than those in the middle. The more spread out the ingredients are on the pan, the more air will flow between them, thus creating better browning. For even cooking, place larger pieces at the edges of the pan and smaller pieces in the center. Make sure to rotate your sheet pan halfway through cooking.
Tip 4. Mind your temperature. The suggested cook times listed here are based on a 400-degree oven temperature but choose a hotter temperature for deeper color with a soft center or choose a lower temperature for slower, more even cooking.
Inspirational Meals to get you started:
Poultry:

Greek inspired sheet pan chicken thighs (omit the feta if you are dairy-sensitive or completing an elimination diet)
Seafood:
Red Meat:
Vegetarian:
(This blog post is not sponsored by any manufacturer. However, at no cost to you, Relish Health may receive a commission on purchases made through an Amazon link.)
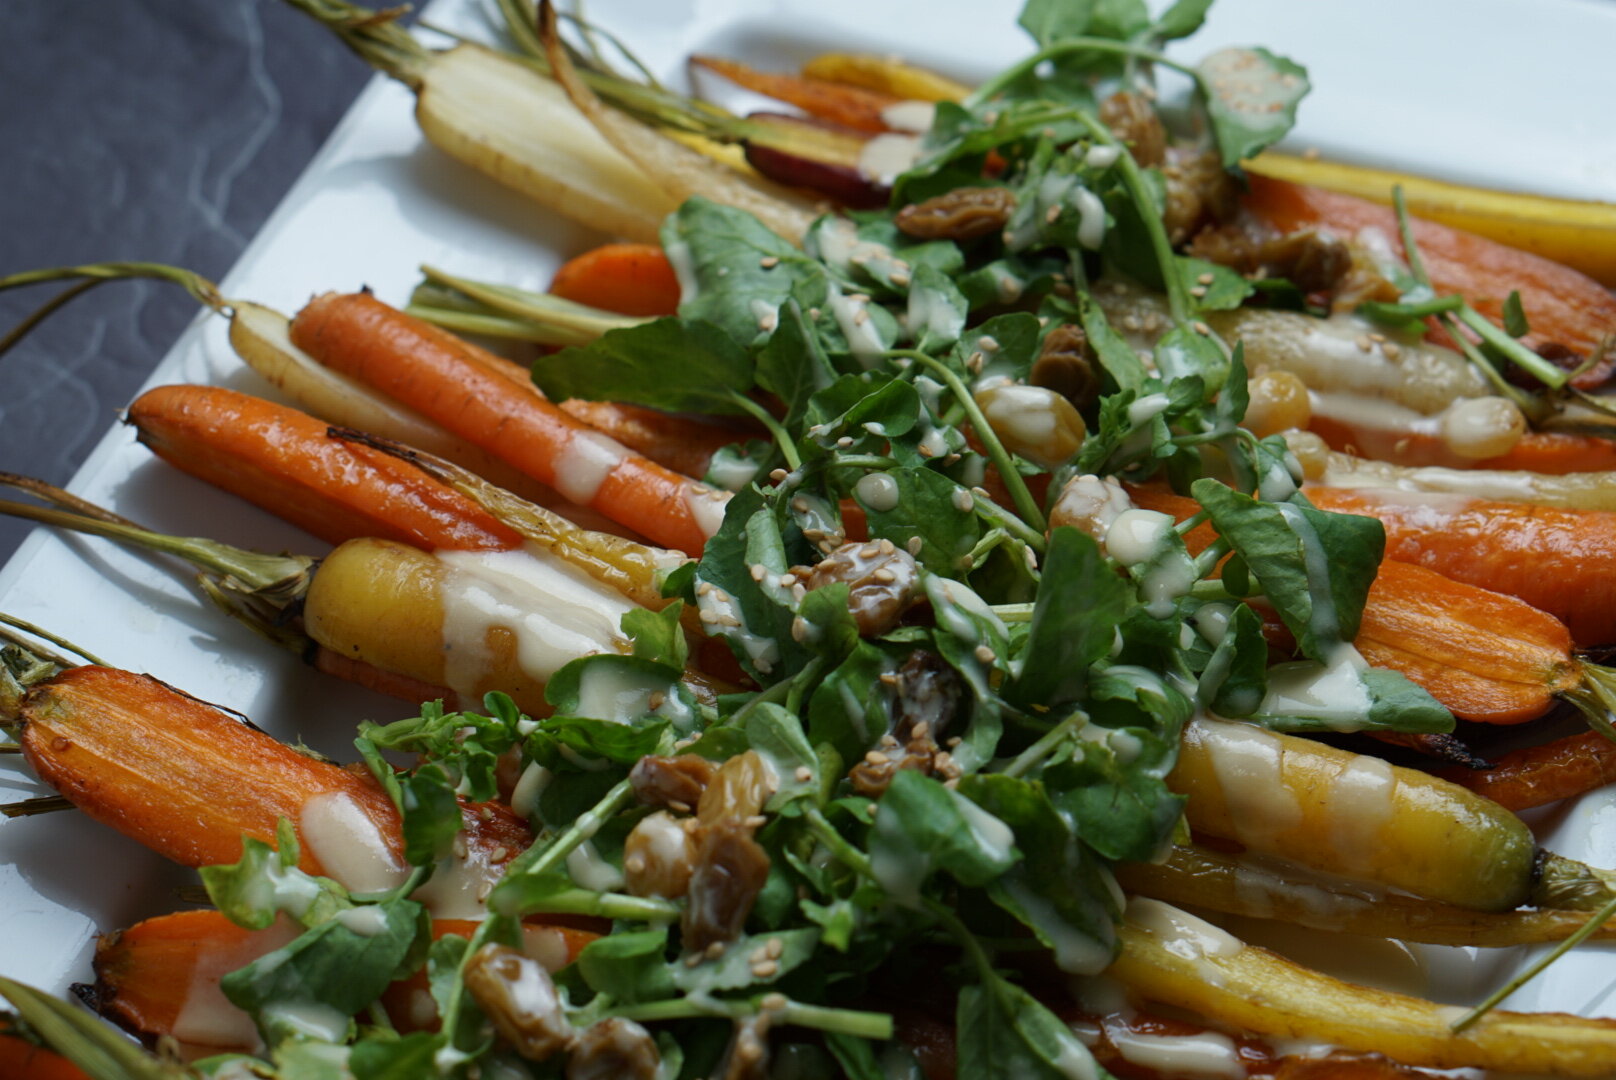
Roasted Carrots Salad with Orange Tahini Dressing
Slightly sweet and very versatile, carrots are one of America’s most popular veggies. Roasting carrots enhances the sweetness of the root and may also increase the amount of cancer fighting beta-carotene. Tahini is a paste made of mineral-rich sesame seeds. Its nutty flavor is a rich contrast to the carrots.
Slightly sweet and very versatile, carrots are one of America’s most popular veggies. Roasting carrots enhances the sweetness of the root and may also increase the amount of cancer fighting beta-carotene. Tahini is a paste made of mineral-rich sesame seeds. Its nutty flavor is a rich contrast to the carrots.
Roasted Carrots Salad with Orange Tahini Dressing
Author: Erica Leazenby, MD
Servings: 4
Time: 30 minutes
Orange Tahini Dressing:
2 Tbsp tahini
2 Tbsp orange juice
2 Tbsp apple cider vinegar
2 Tbsp olive oil
Pinch salt
Optional: 1/8 tsp orange blossom water
Pickled Raisins: (prepare in advance)
1⁄2 cup golden raisins
1⁄4 cup Champaigne vinegar
1/3 cup water
Pinch salt
Ingredients:
Salad:
3 lbs carrots of any color, scrubbed & sliced in half lengthwise
2-3 Tbsp olive oil
Generous pinch of Salt
1 bunch watercress, tough stems removed or arugula
1⁄4 cup golden raisin (pickled if desired)
Salt and pepper to taste
Orange tahini dressing
Directions:
To prepare the pickled raisins: Place raisins in a small, sealable jar and add the vinegar, water, and salt. Store the raisin in the refrigerator for up to several weeks.
To roast the carrots: Preheat the oven to 375 degrees. Toss the carrots with the olive oil and a generous pinch of salt. Lay the carrots in a single layer on a parchment lined baking sheet. Roast the carrots until easily pierced with a fork (about 25 min. depending on the size of the carrots). Remove from the oven and allow to cool.
To prepare the dressing: While the carrots are roasting, combine all the ingredients for the dressing in a small bowl and mix until smooth. Set aside.
Just before serving, toss the watercress, carrots, raisins and dressings to combine. Serve warm or at room temperature.
Cashew Cream Alfredo Pasta with Shitake Bacon
This sauce uses creamy, sweet cashews to create a rich sauce that provides tremendous flavor with a dose of good fats and minerals. The sauce is delicious on its own, but the roasted shitake mushrooms add a pop of flavor that should not be missed!
This sauce uses creamy, sweet cashews to create a rich sauce that provides tremendous flavor with a dose of good fats and minerals. The sauce is delicious on its own, but the roasted shitake mushrooms add a pop of flavor that should not be missed!
Cashew Cream Alfredo Pasta with Shiitake Bacon
Author: Adapted from a recipe by fellow Natural Gourmet Institute graduate, Chloe Coscarelli
Makes approximately 2 cups sauce
Time: 30 minutes plus cashew soaking time

Ingredients:
1 lb of your favorite pasta*
2-3 Tbsp olive oil
1 4-oz package shiitake mushrooms
1 cup raw cashews, soaked**
1 large onion, large dice
3 cloves garlic, large dice
1 cup hot water
1 tsp salt
1 - 1½ Tbsp fresh lemon juice
1 - 1½ tsp miso (optional)
Salt and pepper to taste
Directions:
Place your cashews in a bowl of filtered water and let sit for 6+ hours. Drain and rinse before use.
Prepare the Shitake: Pre-heat the oven to 400 degrees. Remove the stems from the mushrooms and set them aside for another use. Cut the remaining caps into ¼ inch strips. Toss the strips with 1-2 Tbsp of olive oil and season with salt and pepper. Place the mushrooms on a parchment lined baking sheet and roast for 15-20 minutes or until the mushrooms are browned and crisp. Stir once during baking.
While the mushrooms are baking, cook the pasta according to the package instructions and prepare the pasta sauce.
Prepare the Alfredo: Heat a sauté pan over medium high heat. Sauté the onions and garlic with 1 Tbsp of olive oil until they start to soften and become transparent, about 5-7 minutes.
In a blender, combine the sautéed onions and garlic along with the cashews, hot water, lemon juice, miso and seasoning. Run the blender on high until the mixture is smooth. Adjust the flavor by adding additional lemon juice, miso or salt and pepper as desired.
Toss the pasta and sauce in a pasta bowl and garnish with the mushrooms. Serve. while hot.
* I prefer chickpea pasta for added protein and fiber in the meal.
** If you forget to soak the cashews you can pour boiling water over the nuts and let them sit for as long as you have.
Nutrients per ¼ cup sauce: Calories 132; Fat 11g; Carbohydrates 7g; Fiber 1g; Protein 3g
Pantry Staple Tortilla Soup
This soup is a favorite in my house. Not only is it a kid pleaser, but it is easy on the chef. All the ingredients can be stored in the freezer or the pantry making it a go-to when the last grocery trip is a distant memory. Serve it with plenty of guacamole for a hearty and satisfying meal.

This soup is a favorite in my house. Not only is it a kid pleaser, but it is easy on the chef. All the ingredients can be stored in the freezer or the pantry making it a go-to when the last grocery trip is a distant memory. Serve it with plenty of guacamole for a hearty and satisfying meal.
Tortilla Soup
Author: Erica Leazenby, MD
Serves: 6
Time: 20 minutes
Ingredients:
1-2 Tablespoons olive oil
1 package organic frozen fajitas mix (onions and mixed bell peppers)
1 16-ounce organic jarred salsa (mild, medium or hot to fit your taste.)
3-4 cups organic stock (veggie or chicken)
1 1/2 tsp cumin
1 can organic back beans, rinsed and drained
1 tsp salt or to taste (use less if your stock contains sodium)
Pepper to taste
1 small package frozen organic sweet corn
Optional additional ingredients: cooked chicken, cilantro, lime, cheese, tortillas and avocado/guacamole
Directions:
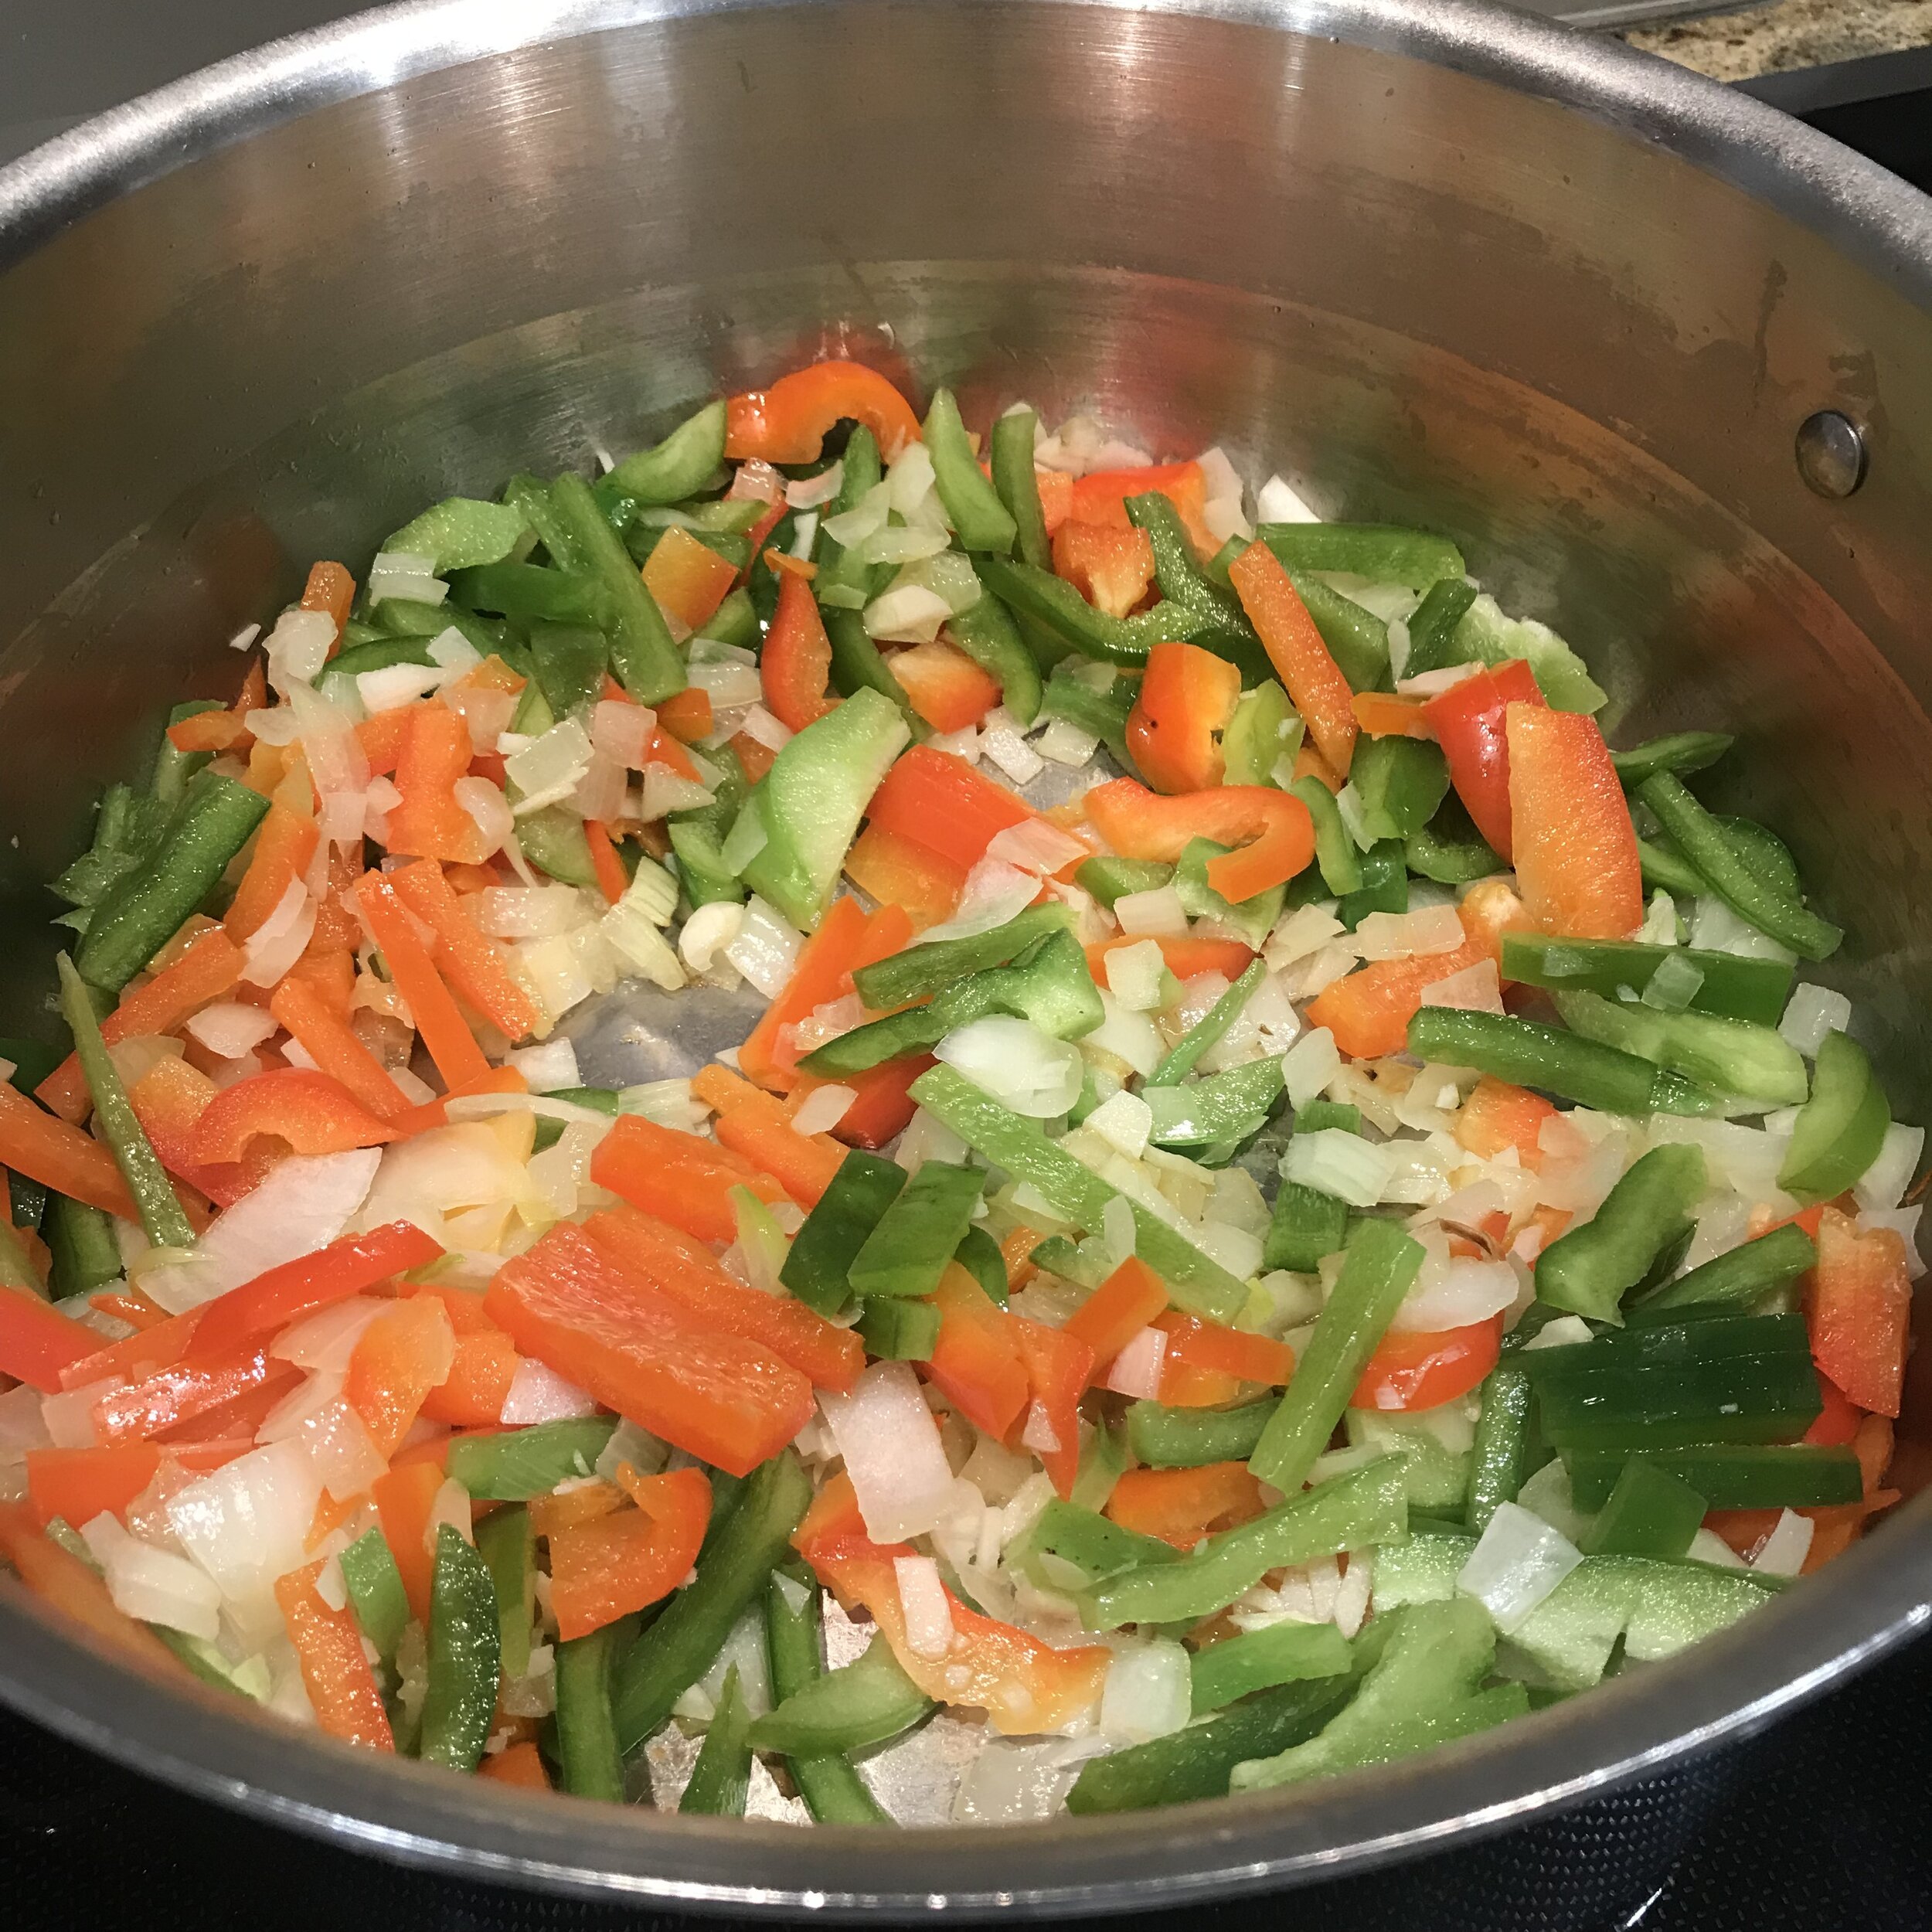
Place 1-2 Tablespoons of olive oil in the bottom of a soup pot. Add the onion and pepper mix and gently sauté the veggies over medium heat until the peppers are soft and the onions are translucent.
Add the salsa and simmer the mixture for a few minutes until it is fragrant.
Add the stock, cumin, beans, salt and pepper. Simmer the mixture for an additional 10-15 minutes to allow the flavors to come together.
Add the corn just before serving. Adjust the salt and pepper to taste.
Serve the soup with organic tortilla chips (or grain-free cassava chips), a dollop of guacamole and sprinkle of cilantro. Enjoy!